

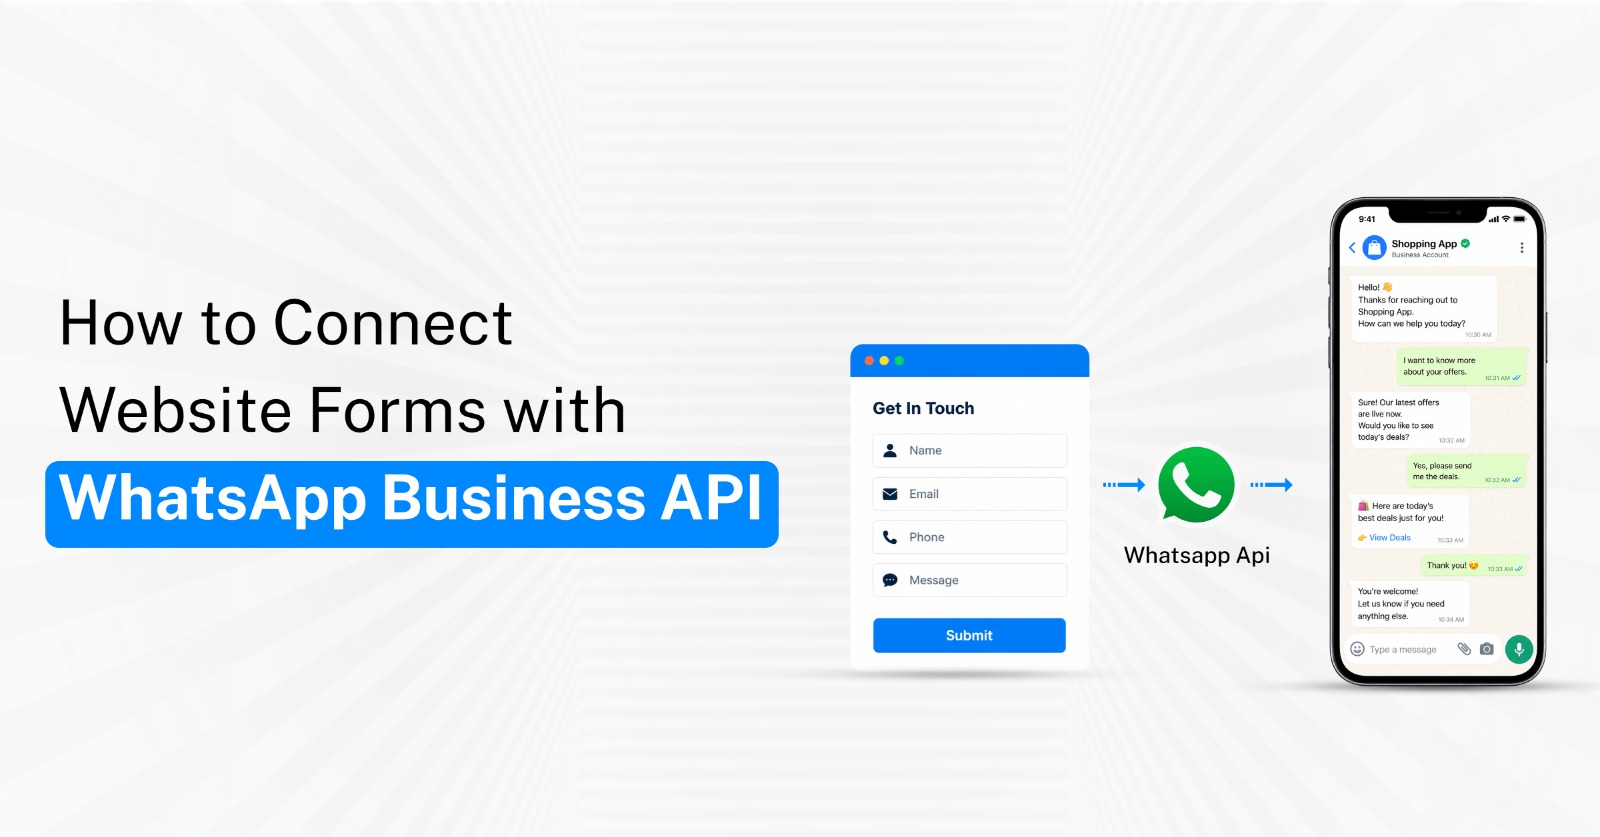
Website forms are one of the most common ways businesses capture leads. A visitor submits their name, phone number, service requirement, or enquiry, and the information is sent to a CRM, email inbox, or sales team.
The problem is what happens after the form is submitted.
If the sales team takes too long to respond, the lead may lose interest, contact a competitor, or forget why they submitted the form in the first place. Connecting website forms with the WhatsApp Business API can help businesses continue the conversation immediately after a form submission.
With the right WhatsApp Business API integration, a website enquiry can automatically trigger a WhatsApp conversation, notify the sales team, capture additional information, or move the lead into a structured follow-up workflow.
This guide explains how to connect website forms with WhatsApp Business API and build a more effective lead-capture process.
Why Connect Website Forms With WhatsApp?
A website form captures the initial interest of a visitor, but it does not automatically create a conversation.
Connecting the form with WhatsApp allows businesses to move the customer from a passive form submission into an active communication channel.
A website-to-WhatsApp integration can help you:
Respond faster: Start the customer conversation soon after the enquiry is submitted.
Reduce lead leakage: Prevent enquiries from sitting unnoticed in an email inbox or spreadsheet.
Capture more information: Continue collecting qualification details through WhatsApp.
Improve lead ownership: Assign the enquiry to the appropriate salesperson or team.
Automate follow-ups: Trigger structured WhatsApp communication based on the form submission.
Maintain context: Pass relevant website-form information into the WhatsApp conversation or CRM.
The goal is not simply to send a WhatsApp message after every form submission. The goal is to create a connected lead journey from the website to the sales team.
Step 1: Define What Happens After the Form Is Submitted
Before implementing the technical connection, define the exact action that should happen when a visitor submits the website form.
Different businesses may require different workflows depending on the type of enquiry.
Your website form workflow should define:
Lead creation: Should every form submission create a new lead in your CRM?
WhatsApp trigger: Should the customer automatically receive a WhatsApp message?
Lead assignment: Which salesperson or department should receive the enquiry?
Qualification: Do you need to ask additional questions before assigning the lead?
Follow-up timing: What should happen if the customer does not respond?
Lead status: At what point should the enquiry be marked as qualified, contacted, or converted?
For example, a real-estate website may use:
Form Submission → WhatsApp Confirmation → Property Requirement → Salesperson Assignment → Site Visit Follow-Up
A clinic may use:
Form Submission → WhatsApp Response → Department Selection → Appointment Request → Confirmation
Defining this flow first makes the WhatsApp Business API integration easier to build and manage.
Step 2: Capture the Right Information in Your Website Form
The quality of the WhatsApp workflow depends on the information collected through the original website form.
Too few fields may make qualification difficult. Too many fields may reduce form submissions.
The form should capture enough information to begin the next conversation without creating unnecessary friction.
Useful website form fields may include:
Customer name: Helps personalize the follow-up.
Mobile number: Required to connect the enquiry with WhatsApp communication.
Email address: Useful for CRM records and alternative communication.
Product or service: Identifies what the visitor is interested in.
Location: Useful for businesses operating across multiple branches or service areas.
Preferred date or time: Helpful for appointments, demonstrations, or consultations.
Lead source: Captures which page, campaign, or marketing source generated the enquiry.
Only collect information that is genuinely useful for the next stage of the customer journey.
Step 3: Connect the Form With WhatsApp Business API
Once the website form is ready, the next step is connecting the submission with your messaging infrastructure.
A WhatsApp Business API integration allows your website, CRM, backend system, or automation layer to communicate with WhatsApp.
When a form is submitted, your website can pass the required information to your backend or connected system, which can then trigger the appropriate WhatsApp action.
The integration may involve:
Website form: Captures the customer's initial details.
Backend or server: Receives and processes the submitted information.
WhatsApp API: Sends or receives the required WhatsApp communication.
CRM: Stores the lead and tracks its sales status.
Automation logic: Determines what action should happen next.
Webhook handling: Processes customer replies and messaging events.
Businesses developing custom integrations can refer to the WhatsApp API documentation for the technical requirements associated with the implementation.
The integration should always be designed around the customer workflow rather than simply triggering messages without context.
Step 4: Decide What Message the Customer Receives
The first WhatsApp interaction after a website form submission is important because it connects the visitor's website activity with the next stage of the sales process.
The message should confirm the enquiry and make the next action clear.
Your first WhatsApp interaction may include:
Enquiry confirmation: Let the customer know their request has been received.
Business identification: Clearly mention which business is contacting them.
Requirement confirmation: Restate the product or service they enquired about when appropriate.
Next question: Ask for one important piece of information required for qualification.
Human support option: Allow the customer to continue with a salesperson when necessary.
Clear next step: Explain what will happen after the customer responds.
Avoid sending long promotional messages immediately after the form submission.
The first objective is to continue the enquiry, not overwhelm the lead.
Step 5: Use WhatsApp Flows for Additional Lead Capture
A website form does not need to collect every piece of customer information.
Businesses can use WhatsApp Flows for lead capture to continue gathering structured information within WhatsApp after the initial enquiry.
This can reduce the number of fields required on the website while still giving the sales team the information needed to qualify the lead.
WhatsApp Flows can be used to capture information such as:
Product selection: Allow customers to choose the product or service they need.
Budget range: Collect purchase or project budget information where relevant.
Preferred location: Identify the branch, city, or service area.
Appointment preference: Let customers choose suitable appointment options.
Requirement details: Gather additional information before assigning the enquiry.
Customer category: Separate new enquiries, existing customers, support requests, or other segments.
For example, a customer may submit only their name and mobile number on the website.
The WhatsApp conversation can then continue with:
Service Selection → Requirement → Location → Preferred Time → Sales Assignment
This creates a shorter website form while still supporting detailed lead qualification.
Step 6: Connect the Lead With Your CRM or Sales System
The WhatsApp conversation should not remain separate from your lead-management process.
Once the website form and WhatsApp Business API are connected, relevant lead information should also move into your CRM or sales system.
Your CRM workflow should ideally capture:
Website form details: Store the information originally submitted by the customer.
WhatsApp number: Connect the conversation with the correct lead record.
Lead source: Identify which website page or campaign generated the enquiry.
Conversation status: Track whether the customer has responded.
Qualification details: Store additional information captured through WhatsApp.
Lead owner: Assign the customer to the correct salesperson.
Next follow-up: Record the next required sales activity.
This gives sales teams a clearer view of the entire journey instead of treating the website form and WhatsApp conversation as separate leads.
Step 7: Build Follow-Up Automation
Not every customer will immediately respond after submitting the website form.
A structured follow-up process can help ensure that valuable enquiries are not forgotten.
Your follow-up workflow may include:
Immediate confirmation: Acknowledge the original website enquiry.
Sales notification: Alert the assigned salesperson about the new lead.
No-response follow-up: Create a task or approved follow-up communication.
Qualification completion: Move the lead when the required details are collected.
Appointment reminder: Trigger reminders for scheduled calls, visits, or consultations.
Lead closure: Update the CRM when the enquiry converts or is no longer active.
Automation should support your sales process without creating excessive or repetitive customer communication.
Step 8: Test the Complete Website-to-WhatsApp Journey
A successful API connection does not automatically mean the lead flow is working correctly.
The entire customer journey should be tested before the integration is used across live marketing campaigns.
Your testing should verify:
Form submission: Confirm that the website correctly captures the enquiry.
Mobile number handling: Ensure the correct WhatsApp number is associated with the lead.
Message trigger: Verify that the expected WhatsApp action occurs.
CRM creation: Check whether the lead appears in the correct system.
Customer responses: Confirm that replies are captured and routed correctly.
WhatsApp Flow completion: Test whether structured customer responses are recorded.
Sales assignment: Ensure the correct team or salesperson receives the enquiry.
Failure handling: Check what happens when information is incomplete or a message cannot be processed.
Testing should include both the ideal customer journey and situations where something goes wrong.
Common Website-to-WhatsApp Integration Mistakes
Businesses often focus on connecting the technology while overlooking the actual lead experience.
This can result in an integration that technically works but does not improve conversions or sales operations.
Common mistakes include:
Using overly long website forms: Collect only the information required at the first stage.
Sending generic WhatsApp messages: The follow-up should relate to the customer's original enquiry.
Ignoring lead source data: Marketing attribution should be preserved.
Creating duplicate CRM contacts: Returning customers should be identified wherever possible.
Not defining lead ownership: Every qualified enquiry should have a responsible salesperson.
Over-automating follow-ups: Use human intervention when the customer reaches an important buying stage.
Skipping end-to-end testing: Test the complete journey before sending paid traffic to the form.
A better implementation sequence is:
Website Form → WhatsApp API → Lead Qualification → CRM → Sales Follow-Up
Turn Website Enquiries Into Active WhatsApp Conversations
Connecting website forms with the WhatsApp Business API can help businesses reduce the gap between lead generation and sales follow-up.
With the right WhatsApp Business API integration, form submissions can become structured WhatsApp conversations instead of remaining isolated entries inside email inboxes or spreadsheets.
Businesses can also use WhatsApp Flows for lead capture to collect additional customer information without making the original website form unnecessarily long.
For businesses building more customized workflows, the WhatsApp API documentation can support the technical integration process.
Explore Emovur's WhatsApp Business API solutions to connect website enquiries with WhatsApp, automate lead capture, and build a faster sales follow-up process.